Showing posts with label Origami. Show all posts

5 Jun 2011

This and that

It's been a while since I posted something. Still problems with internet. Oh, well. It's Cyprus! But it doesn't mean I stop playing with paper and stuff. In fact have some new materials to play with, and some new ideas too. But before I want to share something I've been working lately. Just some pictures from this and that. 
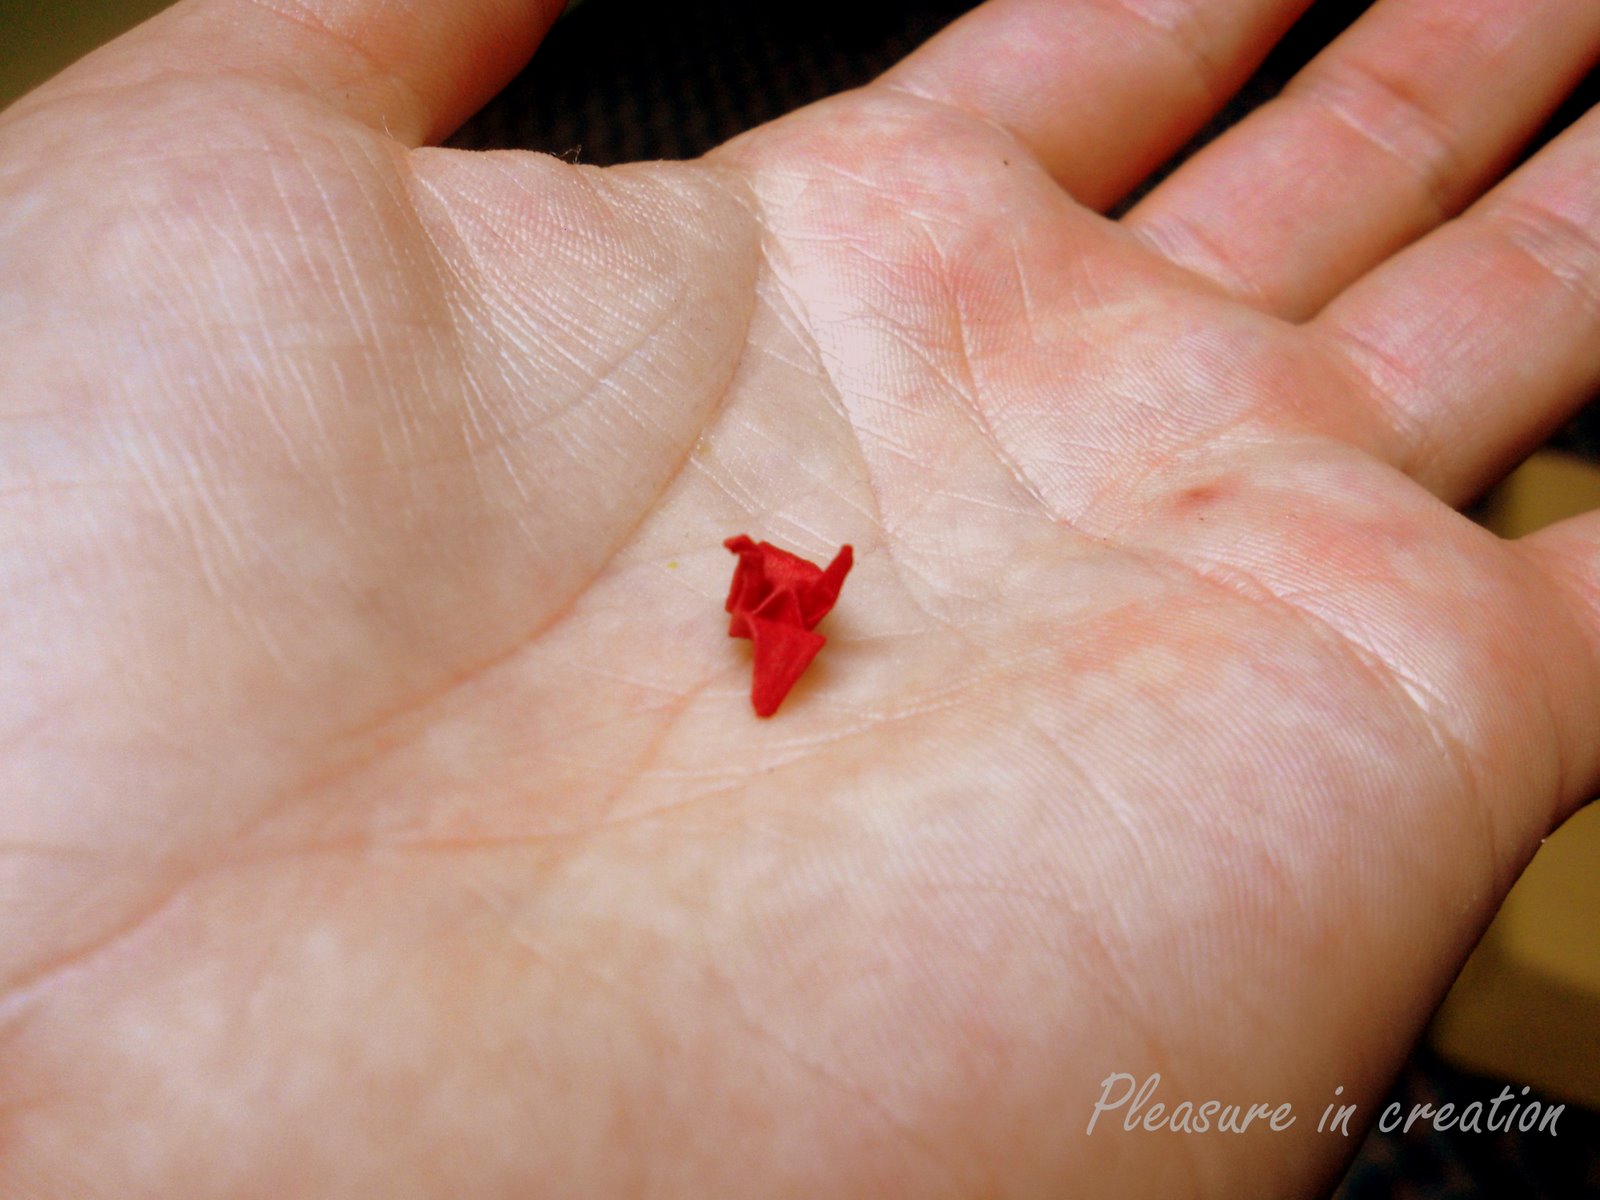
The smallest traditional Japanese crane. More about it in here.

Kanzashi flower brooch. I wrote a little bit about material flowers in here. I'm stuck a little bit with making these, but I already found some good tricks how to make things easier. Like for example I actually used gelatin to make fabric more like paper, so it makes measuring,cutting and folding processes much easier. More difficult to sew thought. Anyway, I promise a full and detailed post after I finally finish experimenting. 


One more bird - sort of peacock - for 3D origami family. I saw the instruction somewhere and I'm sure it's easy to find a few versions of it on internet but to tell you the truth I was absolutely improvising. 

Oh and this thing now is on the wall in my new temporary  bedroom. Just tried to make it look more cosy. Oh well, I borrowed the words from proverb "Learn from yesterday, live for today, hope for tomorrow" and added "feel" to it. And also butterflies. I finally managed to sit down with an amazing Michael G. La'Fosse's origami butterfly book and actually learn how to make few sorts of there creatures.

I thought it might be fun to make a dream catcher with kids. Using all these bright colour feathers and breads I have. And in between experiments I'm still making kusudamas. Here are a few:


16 Feb 2011

Stitched origami boxes. Step by step.


Finally I can present you all collection of my paper stitching experiments. I have to confess that it's not always really easy when you want everything for free :) What I mean is that it was quite difficult to find patterns for paper stitching, but after long searching on internet here is stitched picture of ballerinas and a few origami boxes. I varnished them a few times to make them more resistant. 


This technique is not difficult at all although it depends on picture but in a future I plan make a few simple patterns suitable for kids. After a few tries when you understand how it works you can make your own pictures and stitch anything you want. But for the first try is good to make a simple thing.


Here is step by step instruction: 

Take a square of carton and make all folding lines as you make an origami box just don't put it together yet. We need a folding lines to see where to put varnish. At the beginning I put varnish only on the top of the box as it might be hard to fold it if you varnish it all. I varnish it several times to make it shiny. Have in mind that paper covered with varnish might change a colour a bit. 
After the varnish is dry take printed pattern (you can find a few free patterns here and I found some photocopies in these Picasa albums) try to put in on the centre of the box (square) and make a holes. I used a simple needle for that, just put a thimble not to hurt yourself as the card is pretty hard with a few coats of varnish on it. Also put something on a table under the card - I used just a peace of carton box. 
After you make holes - stitch them. Normally together with pattern you get stitching instruction where to start and which direction to go. After you do that put your origami box together, varnish whole of it a few times and you have a unique box for candies, jewellery or anything you can think of. I made one for my dear friend for the St.Valentine day to make her life more sweet I put some candies into the box. The picture is really banal, I know, but isn't everything a bit trite on that day? 


11 Feb 2011

Paper stitching

I spoke to my sister yesterday who reminded me about wonderful craft - stitching! Can't wait to get some proper strings and material for that, but before I do I found something similar - paper stitching. 
On internet I found some free stitching patterns and already can't wait to try them all. Mostly postcards are made using this technique but I putted my very first stitched butterfly on the cover of origami box. 


More coming soon!


5 Feb 2011

Present boxes

I was charmed by Billie's origami box with matching cute present inside so I tried to make a classical origami box as well. Soon I got bored with making empty boxes so I've decided to fill the boxes with some  cute origami crafts. Even more, I found it interesting to make as small boxes and presents as possible.
As I absolutely love improvising with paper I can tell you that you can fold almost anything. For my tiny boxes I've used an old calendar with lovely pictures, also I found a really nice promotional brochure with a map - and look on the corner of the box there is Lithuania :)


 The cover of this box is made from the same calendar - love the view of the sea on it. So inside the sea box there must be a fish - I folded really small traditional Japanese fish from translucent paper.


 And of course I couldn't forget about traditional Japanese cranes! To make these presents even more special I gave a name for each bird: pink one is a Good luck bird, the Good news bird is folded from a piece of newspaper and the last one - Singing bird is folded from paper with notes.


I also tried to make box full of small origami lucky stars which are easy to make and kids love those! I called this Sweet Dreams Box. Video instruction for lucky star you can find here.


The small rose I quilled from my favourite red colour paper. I varnished it to keep it in the right shape and also the varnish gave a nice gloss. In fact I varnished some covers of the boxes to make them more resistant and shiny of course.


The lucky star I already gave as little something for a happy birthday. I think these small boxes with a little surprise can make somebody's day and not only for some special occasions.


12 Jan 2011

Origami fish


It's really easy to fold these fishes. Especially they look nice if you use two side double colour paper. I used gift wrapping paper and I hanged them in my living room on a window blinds.
Video how to make it you can find here.
By the way I read somewhere that in Japanese culture the fish is a sing of boys and men. Ans in Japan they have a Boy's Day on the 5th of May and then they put out the sings with fishes to celebrate it.


8 Jan 2011

Icosahedron

Yesterday night I finally finished Icosahedron project. Have to tell you that it wasn't the easy one and it took me aged to glue parts together. A saw this project in a picture where it looks absolutely gorgeous and for a week or even more I was trying to find the folding instruction on the Internet. The problem was, that on the picture it says "kusudama",  but it's not. In fact you can't really call it origami, thought it is made of paper. The thing is that u need to cut special shapes from paper, fold them a bit and then glue them together. It takes a lot of patience, especially tricky is to glue the last units, but practice makes perfect!


Here is ready template which you can use, just printing 10 pages or you can cut the form and put it on the colour paper as I did. I'm always trying to save the paper so I managed to fit 3 units on one piece of paper. On the same blog you can find folding details.

30 Dec 2010

Traditional Japanese crane

Traditional Japanese crane probably was the first thing I folded being adult. I just found instruction on a pack of colored paper. I really enjoyed folding them after time it become some kind of obsession. I was folding every time I got the piece of paper in my hands. Once I folded two of them from really small bus ticked – I was interesting too see how small it can be. Folding instructions you can find here and a video here.