Showing posts with label Little something. Show all posts

18 Jul 2011

Kanzashi flowers


It's sure been a while. But finally here it is - all the tricks I've learned making a kanzashi flowers.
First of all you need to find some fabric for making a flower. Also later you going to use needles, matching color strong string, some beads and chucks or anything you want your flower on. One more thing we going to use for making our life easier - simple gelatin. Yes that's right. You can find some no flavour gelatin in any shop I believe.
I used gelatin to make fabric more like paper. And in worked like magic. I read before that for the same purpose starch was being used but to tell you the truth I was a bit afraid that it might leave some white spots on my black fabric. So here is step by step instruction.

  •  Gelatin you melt in some warm water (read an instruction on the package and use just a bit less water then it says). Take your fabric (I cut some old clothes, as long as material is nice you can do the same.) put it into gelatin water and nicely place it on a table. You have to do this really carefully as you want fabric to dry really flat. You might have to wait 6 hours or even more.

  •  After fabric is dry it's feels like a proper paper so it's really easy to cut it into squares. I used some dry soap to draw the lines so I could cut as straight as possible.


  • After you have the squares you start making the petals. How big they are, how many petals you going to use and other things absolutely belong on you. Just try to make some flowers and find your own way. Here you can see simple photo instruction how to fold the petal. The rest - experimenting!!!!!

I don't use glue at all for making these. I stitch the petals, sew them together, put bread on the centre and also stitch it on a safety pin in order to make a brooch. NB!!! All the time use a thimble in order to avoid accidents. Even if you think it's easy to thread the needle into petal remember you have quite a few layers of fabric and it might be not easy at all. Safety first! 


5 Jun 2011

This and that

It's been a while since I posted something. Still problems with internet. Oh, well. It's Cyprus! But it doesn't mean I stop playing with paper and stuff. In fact have some new materials to play with, and some new ideas too. But before I want to share something I've been working lately. Just some pictures from this and that. 

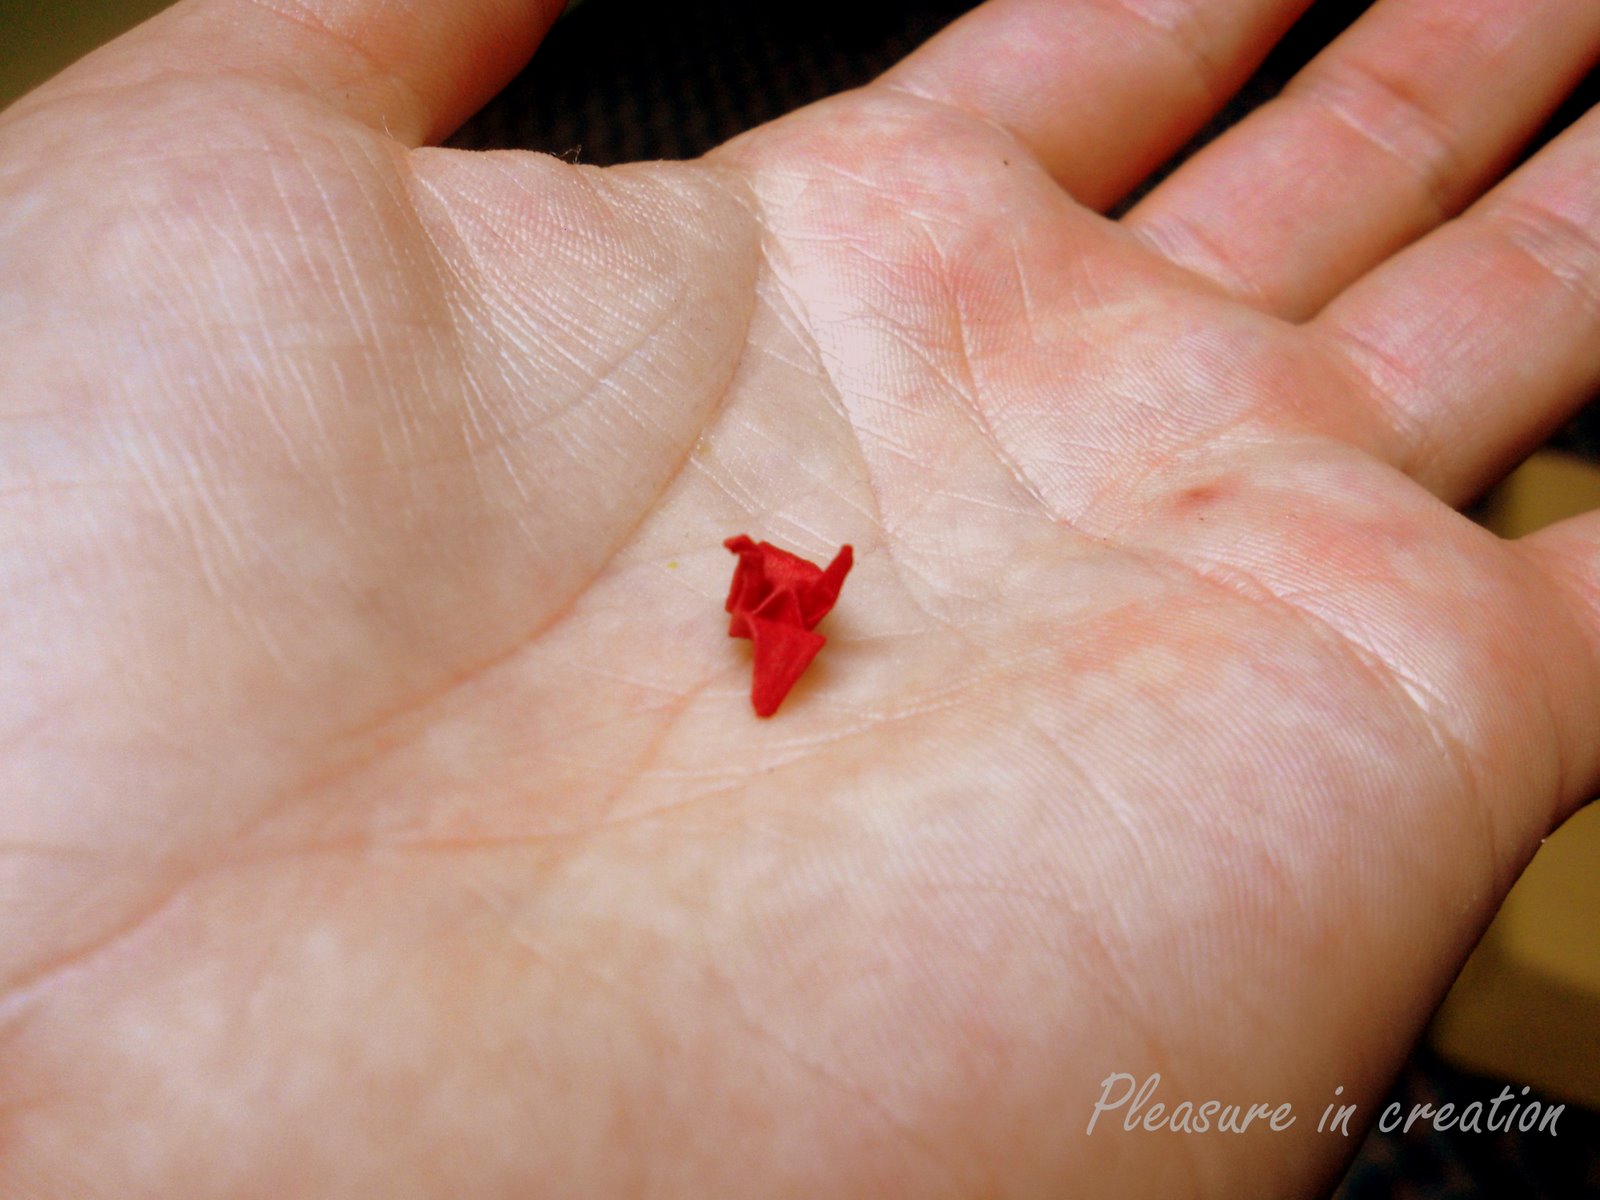
The smallest traditional Japanese crane. More about it in here.

Kanzashi flower brooch. I wrote a little bit about material flowers in here. I'm stuck a little bit with making these, but I already found some good tricks how to make things easier. Like for example I actually used gelatin to make fabric more like paper, so it makes measuring,cutting and folding processes much easier. More difficult to sew thought. Anyway, I promise a full and detailed post after I finally finish experimenting. 


One more bird - sort of peacock - for 3D origami family. I saw the instruction somewhere and I'm sure it's easy to find a few versions of it on internet but to tell you the truth I was absolutely improvising. 

Oh and this thing now is on the wall in my new temporary  bedroom. Just tried to make it look more cosy. Oh well, I borrowed the words from proverb "Learn from yesterday, live for today, hope for tomorrow" and added "feel" to it. And also butterflies. I finally managed to sit down with an amazing Michael G. La'Fosse's origami butterfly book and actually learn how to make few sorts of there creatures.

I thought it might be fun to make a dream catcher with kids. Using all these bright colour feathers and breads I have. And in between experiments I'm still making kusudamas. Here are a few:


9 May 2011

Friendship bracelets

Long time! After all sorts of things I'm back again with new arts and crafts. At the moment I've just changed my working place - moved to next door hotel. I'm going to work in kiddies club only, so hopefully I'll have loads of time to create new crafts and original activities In fact, I already had a chance to remember old days how I use to make double knot bracelets at school.


Making them is really easy and my first try to teach 8 year old Liza was a success! Next day she came to make one more for her friend, and another...


I didn't make step by step post this time. But there are loads of instructions on internet if you google it, here is one, which I find really clear.
Of course, beside double knot bracelets there are loads and loads of ways to make friendship bracelets by just using a simple string. I've tried a few, but the list is endless! It's really good activity where you don't need loads of things and of course it's a great gift for friends of a nice memory from holiday. Have fun!


13 Mar 2011

More flowers!

Recently my sister send me a picture of the brooch she made. It's really original. As you can see it's made from zip. Isn't that clever?! :) 


You can easily make one your self. The step by step instruction you can find here, it's in Lithuanian but with pictures so must be pretty clear.

Inspired by these zip flowers and up coming spring I started searching for some new flower making techniques. As I like saying, everything is already invented, just need to discover it again :) And discovered  an amazing art of traditional Japanese kanzashi flowers. 

Kanzashi are hair ornaments used in traditional Japanese hairstyles. The whole history of these traditional ornaments is really interesting and a bit complex, so I'll try to write more about that later. Anyway, nowadays
kanzashi is mostly applied to folded fabric-petals flowers. 

Here is my first attempt to make kanzashi style brooch. Not so impressive so far as you can find browsing, but at the moment I'm cutting old clothes and going to recycle them into kanzashi flower style accessories. Coming more really soon!


4 Mar 2011

Recycling

Recycling with no doubts is a good thing and we all should contribute to environment protection. That's why I always try to use one paper twice and if it's possible even three times :) And I always try to use something what is at a hand for our arts & crafts. This time we were making some mobiles from plastic bottles.


I just cut the bottle in different sizes rain drops and hanged them in a circle. My friend Fredi as always tried to make this craft look as a real piece of art. 
I really like the colour of these plastic bottles, so I was trying to make a nice blue cell for traditional Japanese crane. One kid asked me if we going to learn this bird to speak or sing! :)


Using plastic bottles can be great fun, especially if you have different colours. But its better prepare the shapes for kids if you planing to make mobile as it takes some time and it's not really easy to cut plastic. With kids we were using pieces of colour straws to make our "rain mobiles" more colourful as there was a rainbow after nice summer rain. Experimenting is fun!

17 Feb 2011

Tissue flowers. Step by step.


We still using anything and everything what we can find in a hotel for our arts and crafts. So a few days with two really diligent girls we made this big bouquet of tissue flowers. Vase is mosaic from small pieces of colour carton. For making flowers we used simple white tissues and some green  crepe paper for leafs.
Its really simple to make there flowers and variety of flowers you can make by using the same tissue is incredible!


All you need to do is:  
  • Fold the tissue and staple in few places. Then draw a shape of flower leaving staple in the centre of the flower. Cut the flower shape. 


  • Lift every layer of tissue one by one and press a bit to centre.     


  • After you finish lifting up the layers turn the flower up side down  and put just a bit of paint. Mix the paint with some water as tissue absorbs the water together with paint and you have slight colour in the middle of the bloom. Also if you want it more colourful you can do the same from the other side. Just be careful not to rumple it.


Use your imagination! You can make loads of different blooms by using simple tissue. It depend on you how big your flowers will be, me personally prefer micro :) Here is slightly pink sakura twig picture I made:


8 Jan 2011

Icosahedron

Yesterday night I finally finished Icosahedron project. Have to tell you that it wasn't the easy one and it took me aged to glue parts together. A saw this project in a picture where it looks absolutely gorgeous and for a week or even more I was trying to find the folding instruction on the Internet. The problem was, that on the picture it says "kusudama",  but it's not. In fact you can't really call it origami, thought it is made of paper. The thing is that u need to cut special shapes from paper, fold them a bit and then glue them together. It takes a lot of patience, especially tricky is to glue the last units, but practice makes perfect!


Here is ready template which you can use, just printing 10 pages or you can cut the form and put it on the colour paper as I did. I'm always trying to save the paper so I managed to fit 3 units on one piece of paper. On the same blog you can find folding details.